
Clerk Changelog

Self-serve SSO

Category
SSO
Published

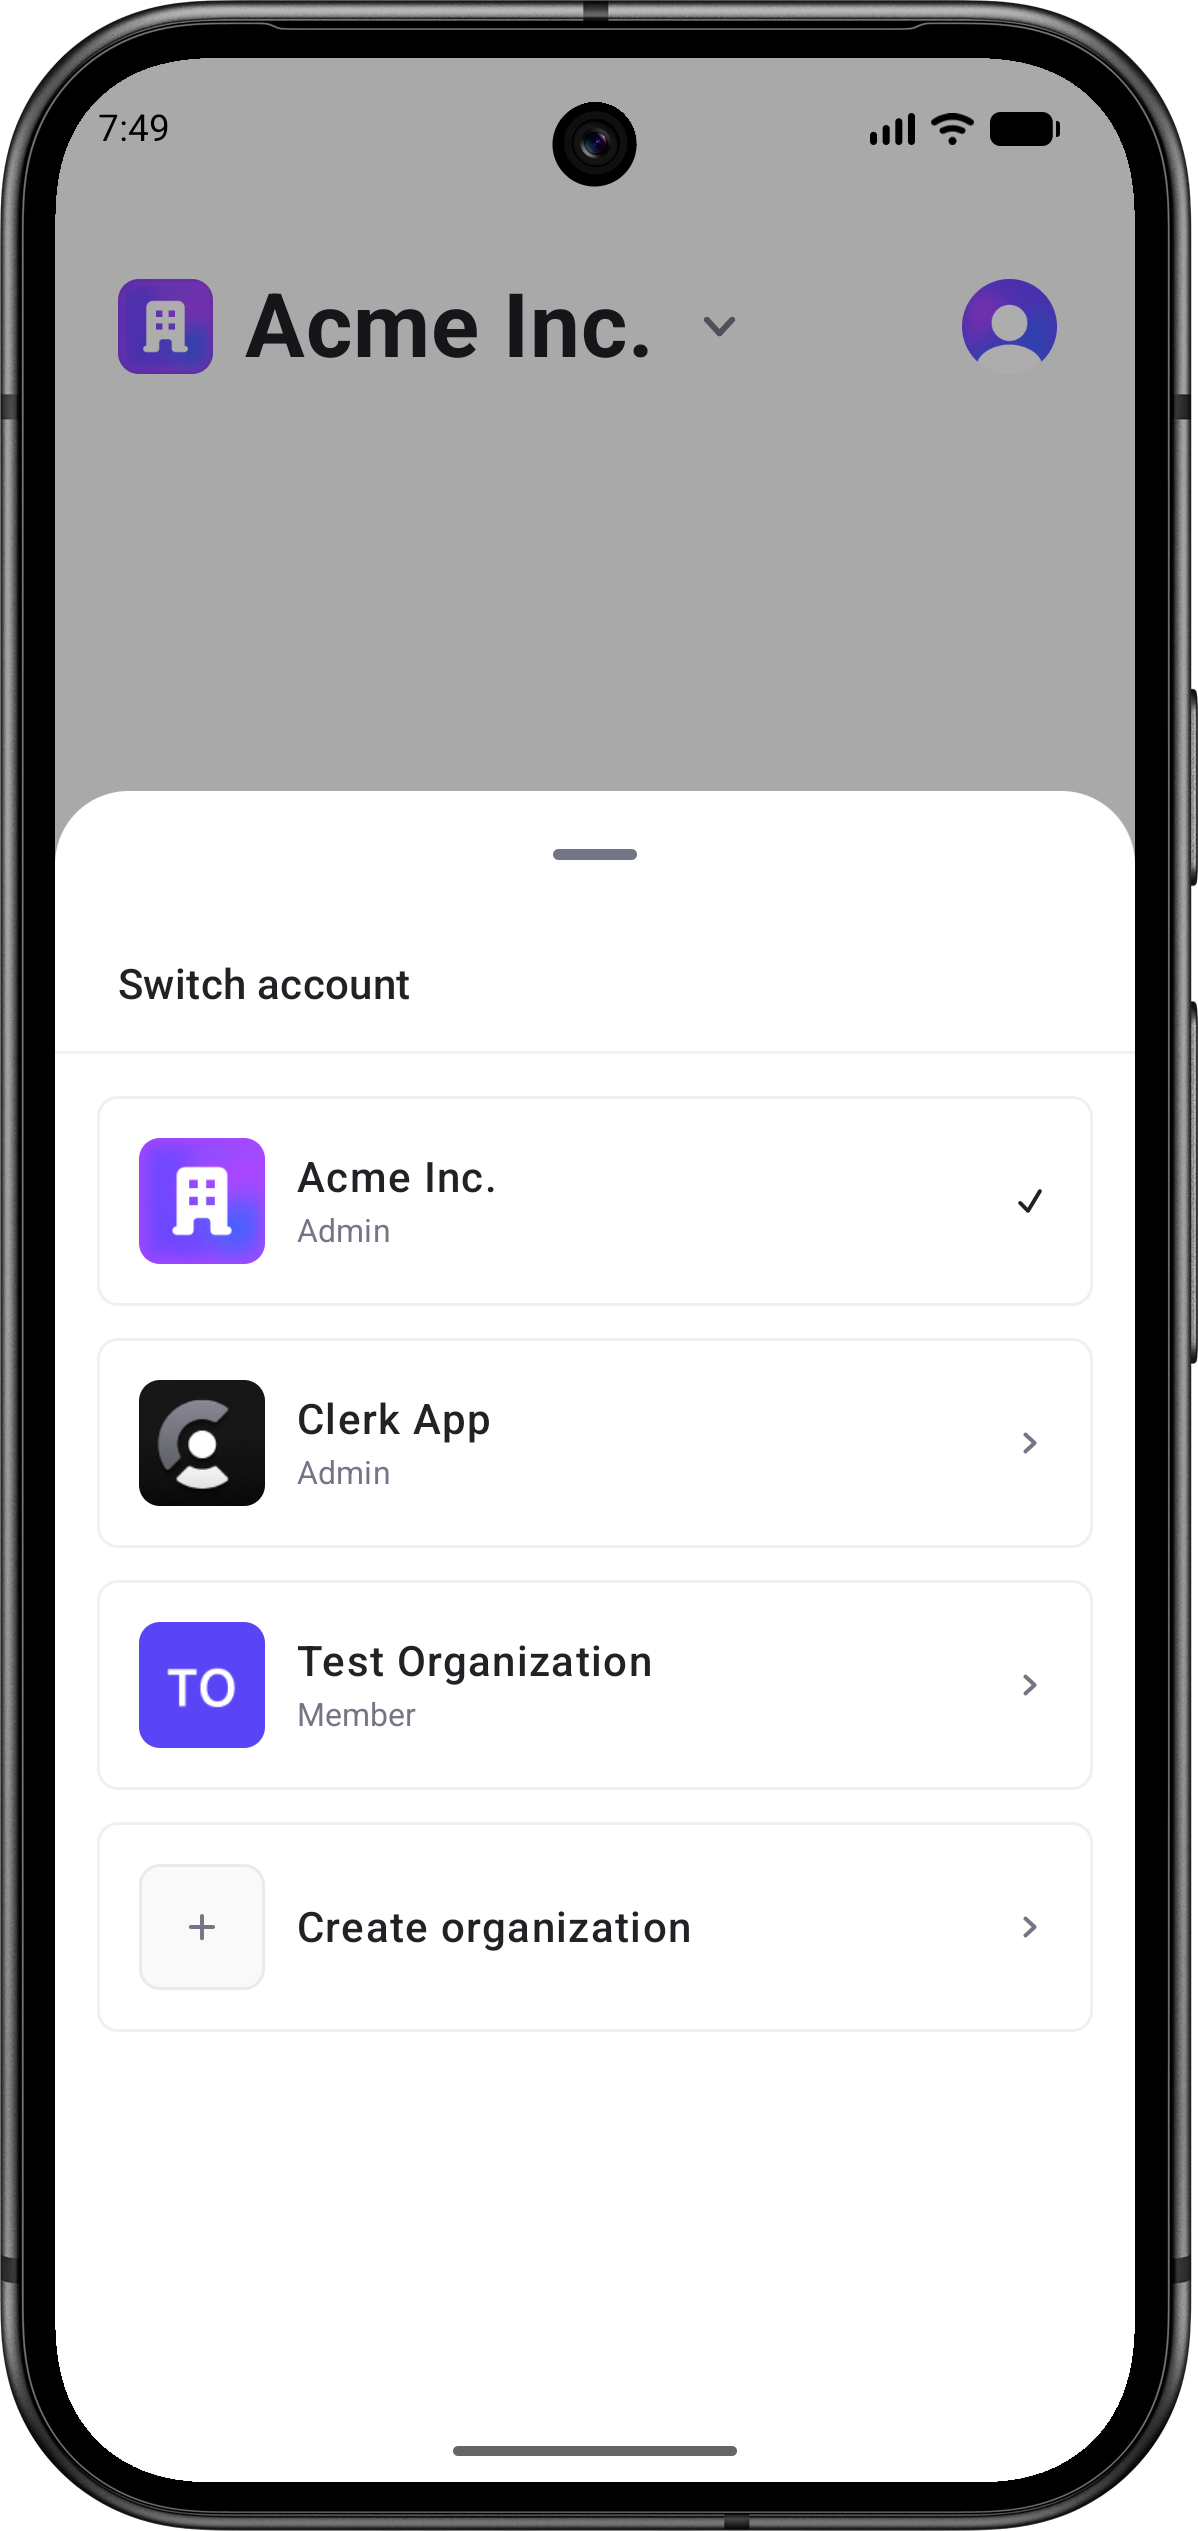
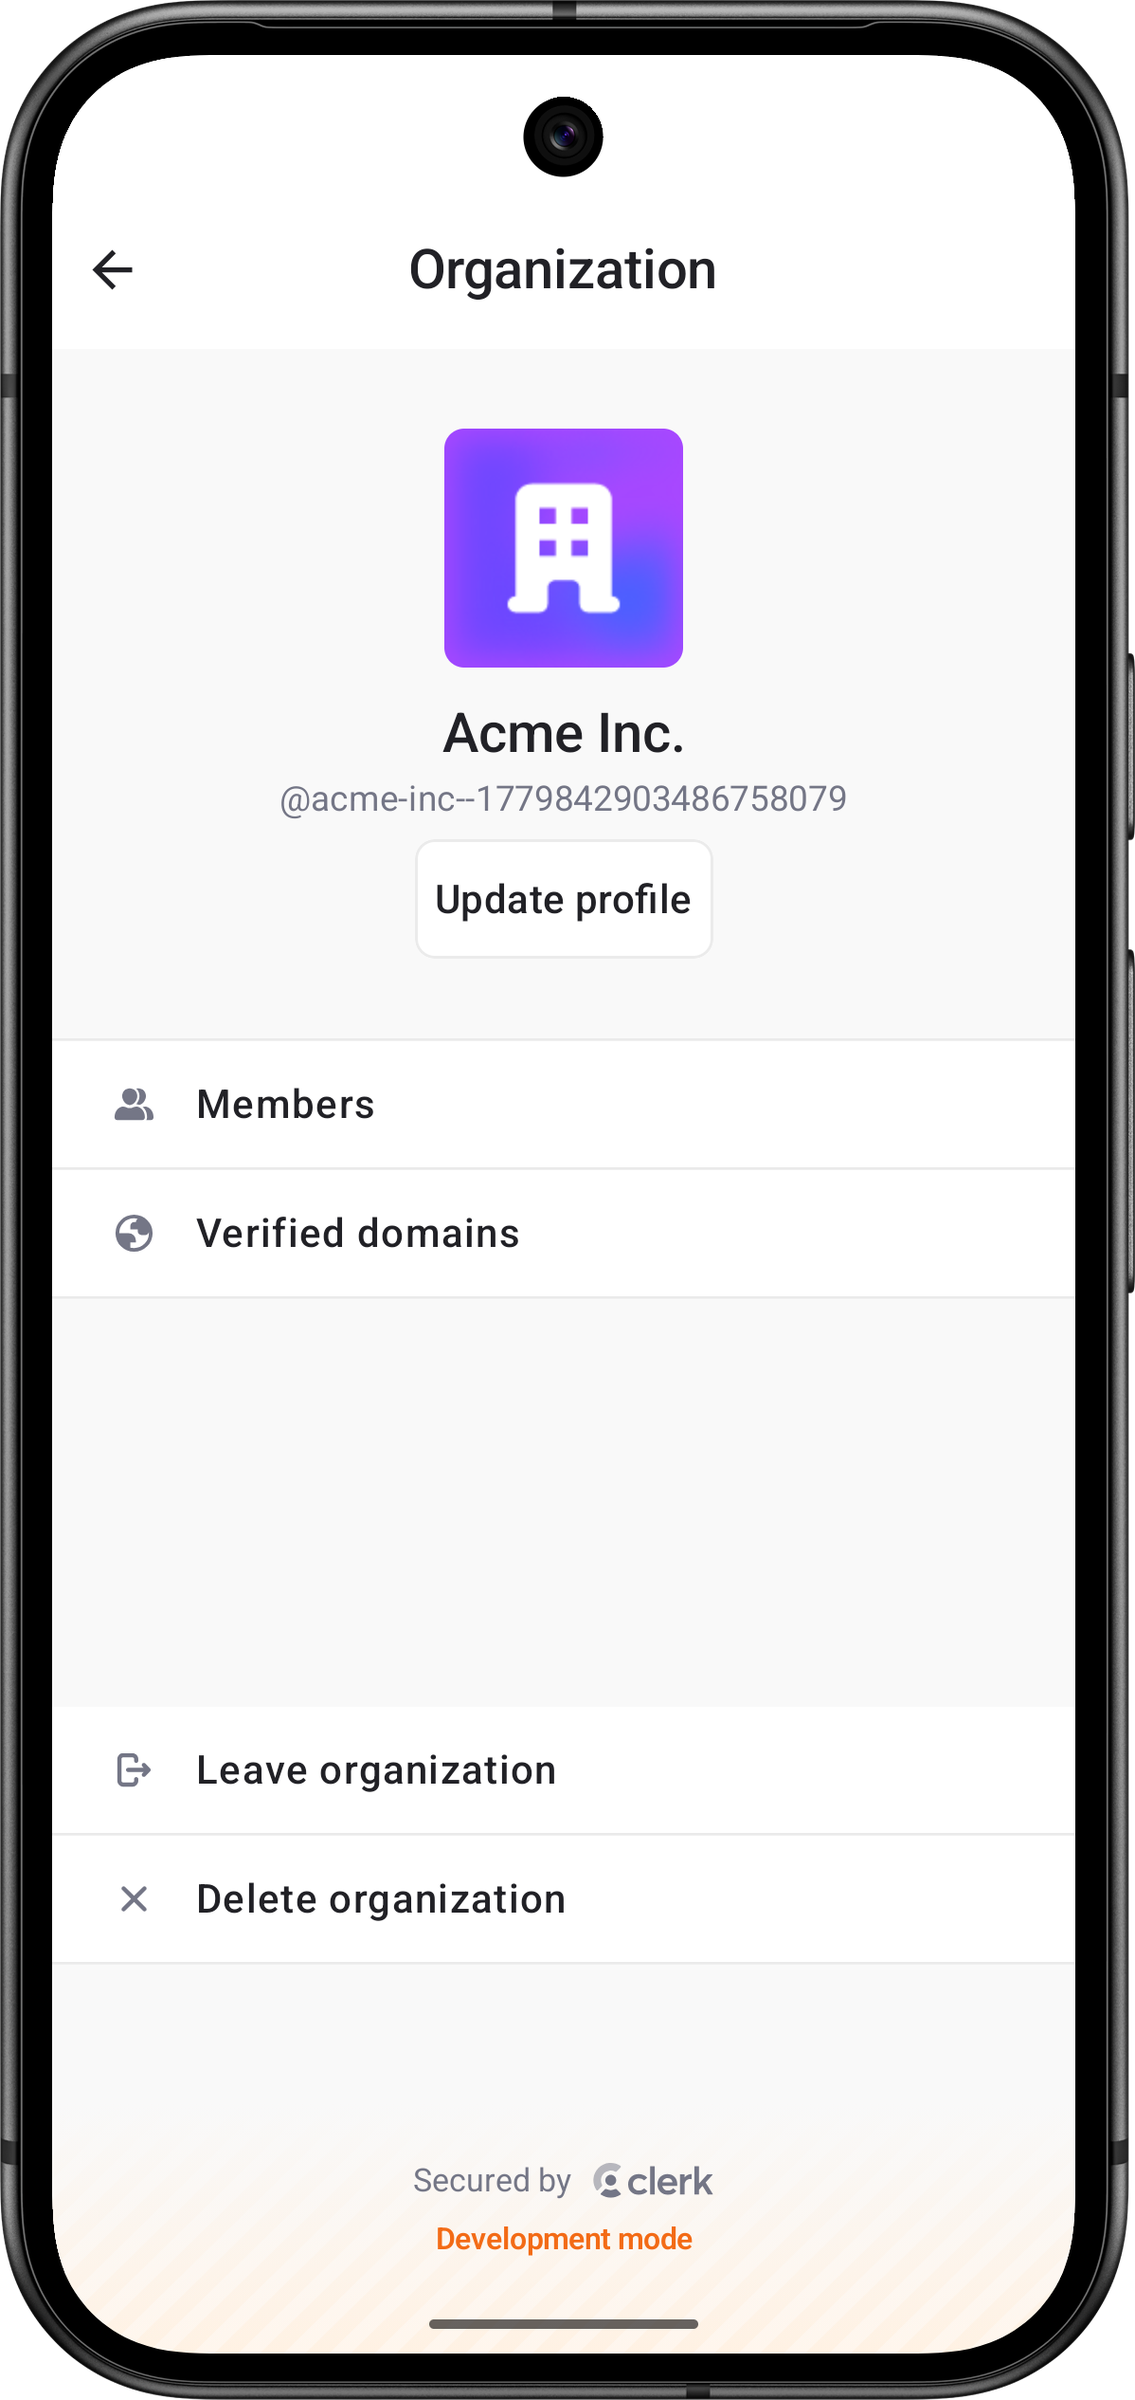
Your customers' IT admins can configure and manage their own enterprise SSO connections from a new Security tab in <OrganizationProfile />.

By default, enterprise SSO connections are configured by your team in the Clerk Dashboard. For every customer that needs SSO, someone on your side creates the connection, exchanges metadata with the customer's IT admin, tests it, and activates it. As your enterprise motion scales, that becomes a bottleneck. Self-serve SSO lets you delegate that configuration to your customers' IT admins, without giving them Dashboard access.

Note

Currently, Self-serve SSO is only available for applications using Clerk Organizations.

How it works

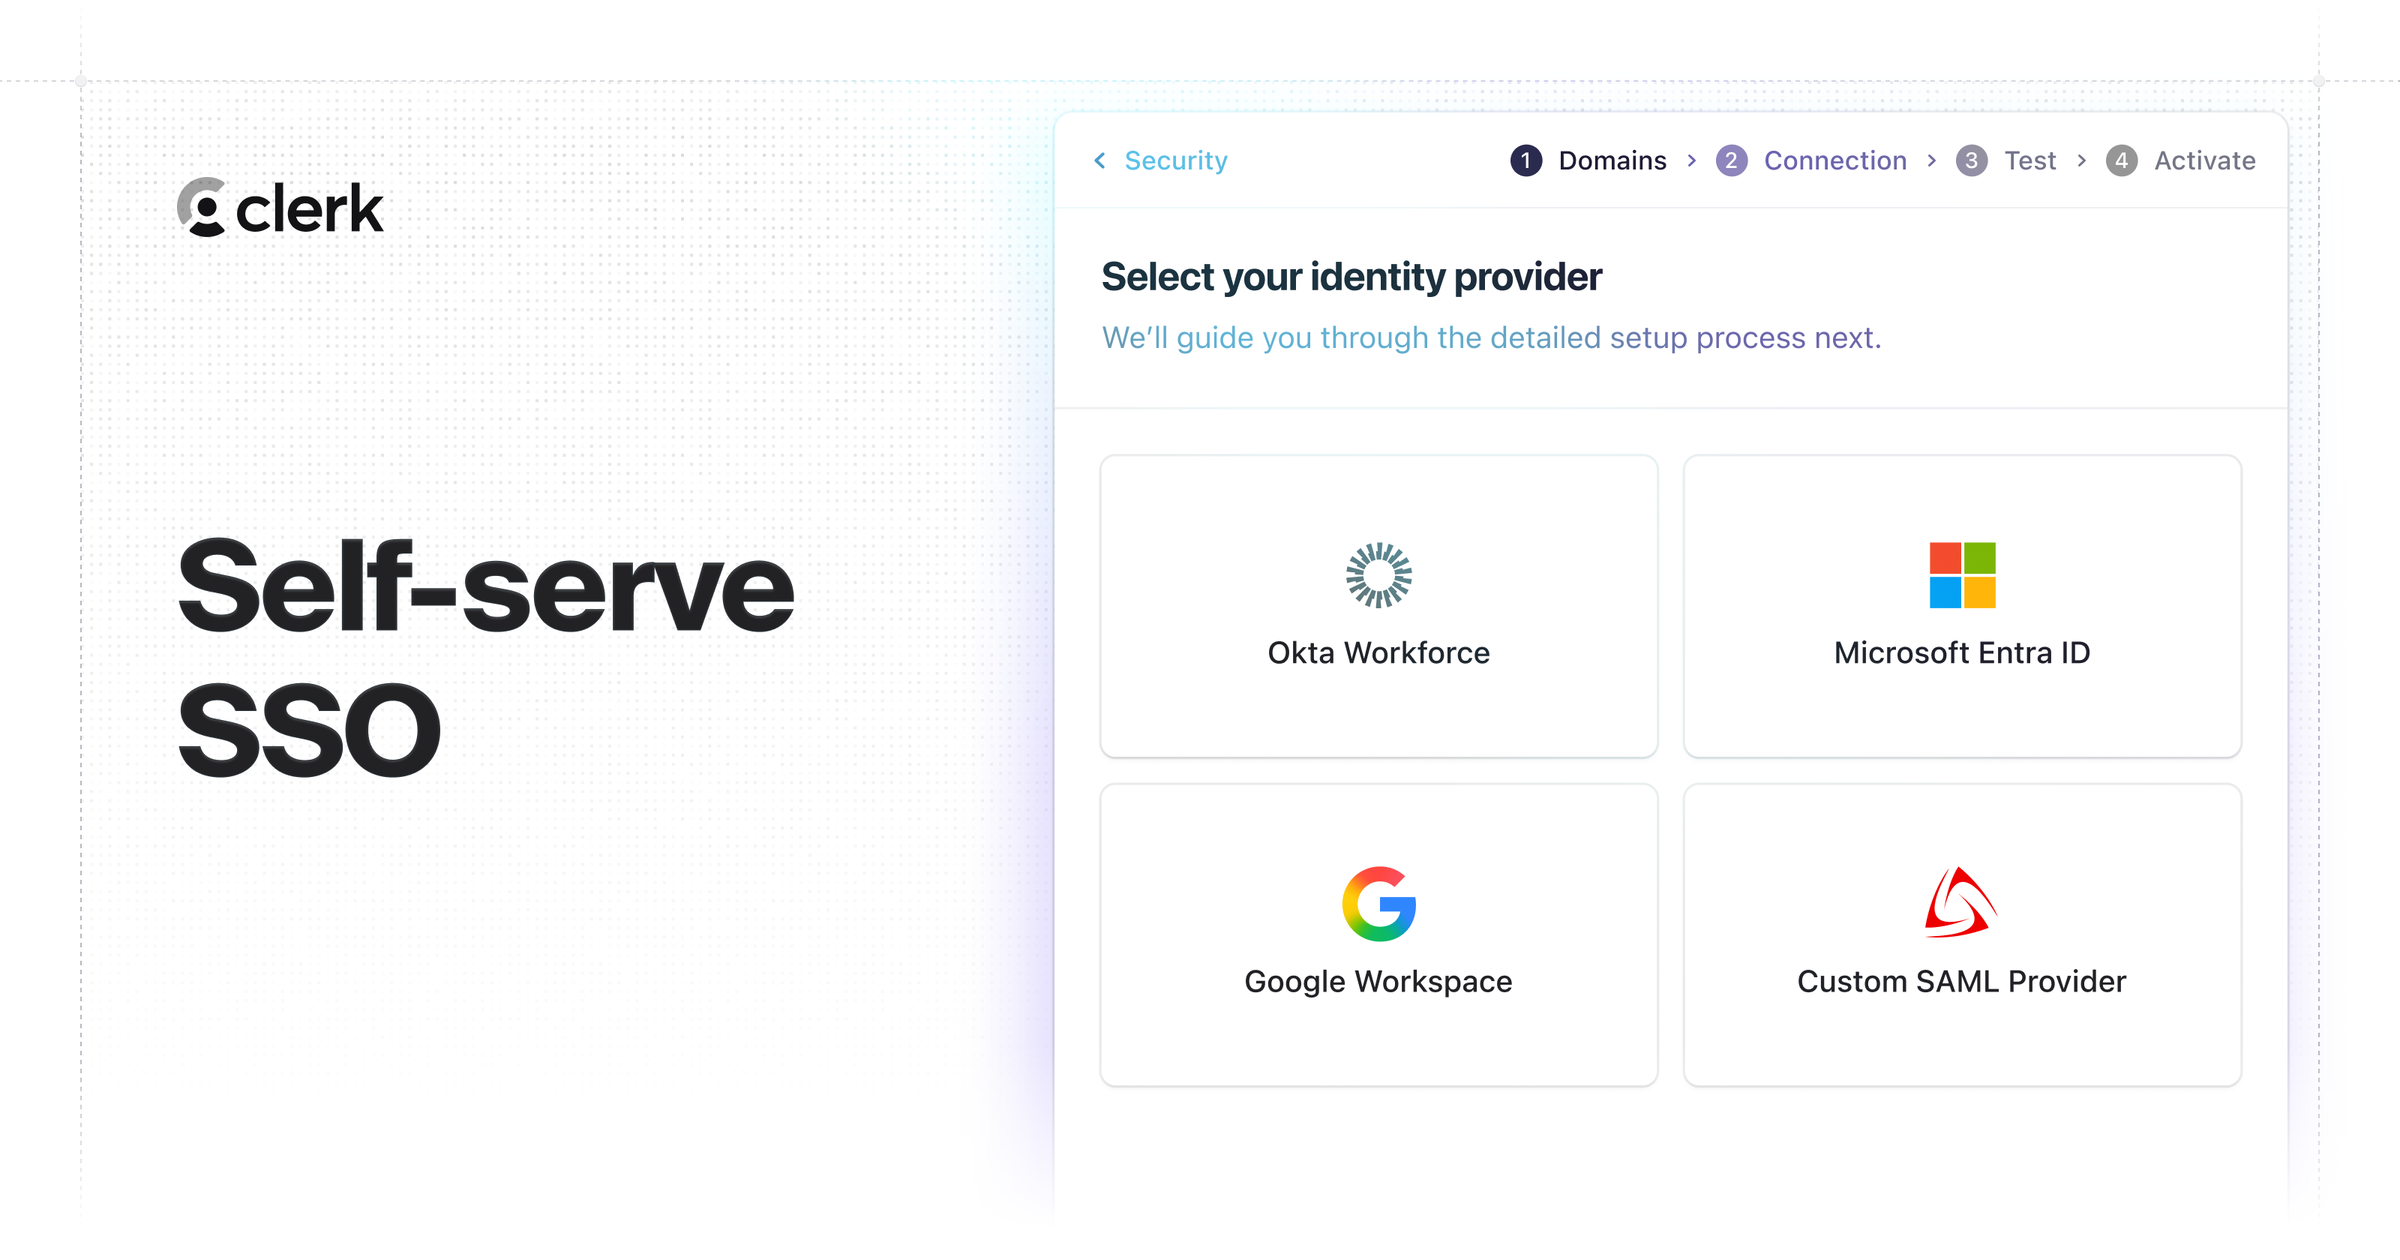
When you enable self-serve SSO for an Organization, a Security tab appears in that Organization's <OrganizationProfile />. An admin with the org:sys_entconns permission can set up the connection end-to-end from there:

  • Domains: Add one or more domains and verify ownership of each with a DNS TXT record.
  • Connection: Pick an identity provider and supply its configuration, with setup instructions embedded inline. Okta, Google Workspace, Microsoft Entra ID, and custom SAML are supported.
  • Test: Run a test sign-in to confirm the connection works end-to-end.
  • Activate: Turn the connection on once the test passes.

The connection is scoped to the Organization it's configured in and behaves like any other enterprise connection once it's live: users with a matching email domain sign in through the configured provider.

Get started

Self-serve SSO is available to applications using Organizations and is enabled per Organization. In the Clerk Dashboard, select an Organization, open its Settings, and turn on Allow this organization to set up SSO under Self-serve SSO. The Security tab then surfaces wherever your app renders <OrganizationProfile />.

For setup details and requirements, refer to the self-serve SSO documentation.

Contributors
Laura Beatris
Iago Dahlem
Nicolas Lopes

Share this article

SAML custom attributes can now map every value an identity provider sends into an array on publicMetadata, instead of keeping only the first.

SAML custom attributes can now be mapped as multi-valued. When an identity provider sends an attribute with more than one value (common for groups or roles in Okta and Microsoft Entra ID), Clerk writes every value to the user's publicMetadata as an array. Previously, only the first value was kept.

Enable multi-value attributes

Open an enterprise connection in the Clerk Dashboard, edit a SAML custom attribute, and turn on Allow multiple values. Matching values are written to publicMetadata always as an array []. If the provider doesn't send the attribute at all, the key isn't written.

The same control is available on the Backend API as a multi_valued field on each custom attribute.

Compatibility

Multi-value mapping is off by default. Existing custom attributes are unchanged and continue to map the first value. No migration or reconfiguration is required.

Refer to the Multi-valued attributes documentation for setup details and how the setting interacts with SCIM.

Contributors
Nicolas Lopes
Gabriel Melo

Share this article

clerk deploy: guided, resumable, agent-ready

Category
Product
Published

clerk deploy takes your application live with a single command, cloning your development instance to production and walking you through DNS and OAuth setup.

When we released the CLI, we said we were hard at work on deploy. It's ready for you to use today: clerk deploy is now available in the Clerk CLI, taking your application from development to production with a single command.

A clerk deploy session showing the plan and production domain prompt

Run clerk deploy from a linked project and the CLI walks you through everything production needs:

  • Production instance: Creates a production instance from your development configuration and prompts for your production domain

  • DNS records: Displays the CNAME records to add at your DNS provider, and can export them as a DNS zone file you can import at any compatible provider

  • OAuth credentials: Detects the social connections enabled in development and prompts for production Google and Apple credentials, including importing a Google Cloud Console JSON file or pointing at your Apple .p8 key. Other providers are flagged for setup in the Clerk Dashboard

  • Verification: Checks DNS, SSL, and email DNS in one loop and reports exactly what's still pending

Built for agents

In a non-TTY context, or with --mode agent, clerk deploy emits a read-only JSON handoff describing the current deploy state instead of prompting.

clerk deploy status --mode agent

Get started

Update to the latest CLI, link your project if you haven't already, and deploy:

clerk update
clerk link
clerk deploy

Read the full documentation for all commands and options.

Contributors
Rafael Thayto
Wyatt Johnson

Share this article

Configure per-seat pricing in your organization billing plans

Starting today, you can create Plans with per-seat pricing in Clerk Billing, allowing you to charge Organizations based on the number of members using your product.

As your customers get larger, they're getting more value out of your product. A five-person team shouldn't necessarily pay the same amount as a fifty-person team. Per-seat pricing makes it easy to align subscription costs with organization size, allowing pricing to scale naturally as organizations grow.

For example, you might create a Plan with a $12 monthly charge per member. Smaller organizations pay less, while larger organizations are charged proportionally to their team size.

Per-seat pricing is deeply integrated with Clerk Organizations, allowing you to monetize Organization growth without building custom billing or seat management workflows.

Billing that grows with Organizations

When Organizations add new members, Clerk automatically handles seat provisioning behind the scenes. If an Organization exceeds its available seats when adding members, Clerk guides them through a checkout flow to purchase additional seats, ensuring billing stays aligned with membership. Additional seats purchased during an active billing period are prorated automatically, ensuring organizations only pay for the time those seats are in use.

At the beginning of each billing period, Clerk automatically adjusts the subscription's seat quantity to match the Organization's current membership count. This ensures billing remains aligned with the provisioned members over time and prevents organizations from paying indefinitely for unfilled seats.

Per-seat pricing can be combined with seat limits, allowing you to both charge per member and enforce a maximum Organization size.

Per-seat pricing can also be combined with a fee for the Plan itself, a "base fee", to charge a minimum fee for access to the Plan's features. You can even set an "included" number of seats that come with the base fee; Organizations will only be charged per seat after these included seats are used.

For example, a Plan can have:

  • A $20 per month base fee
  • An $8 per month per-seat fee
  • 2 included seats
  • A limit of 10 seats on the Plan
Organization sizeCostBreakdown
1$20$20 for the base fee, no seats over the 2 included
3$28$20 for the base fee, two seats included, $8 for the 1 additional seat
10$84$20 for the base fee, two seats included, $64 for the 8 additional seats

An Organization on this Plan would not be able to invite an eleventh member without changing their Plan, and would be prompted to do so when they go to invite the member.

A more capable Clerk Billing

When we launched Clerk Billing a year ago, we only supported flat fee pricing for Plans. With the recent launch of seat limits and now per-seat pricing, we hope Clerk Billing can offer a compelling experience for businesses that use a seat-based pricing model.

We're not done with Clerk Billing yet, and are continuously striving to offer more and more powerful tools to let you build the pricing model that will most accurately capture your product's value. We have a lot we're working on, and we can't wait to share it with you.

Get started with seat-based billing

  • Navigate to the New Organization plan page in the Clerk Dashboard.
  • Toggle on the Seat-based section.
  • If you'd like to set a limit, select Custom limit and enter the desired value. (You need the B2B Authentication add-on to set a limit greater than 20.)
  • If you'd like the Plan to allow an unlimited number of seats, select Unlimited members. (You need to have the B2B Authentication add-on to select this option.)
  • Toggle on the Per-seat fee section.
  • Enter the price per seat in the Cost per member seat monthly section.
  • If you'd like to include free seats in the plan, enter the desired value in the Included seats section.

You can learn more about seat-based billing in the docs.

Contributors
Lamone Armstrong
Mary Zhong
Maurício Antunes
Dylan Staley
George Vanjek
Paddy Carver
Keiran Flanigan

Share this article

Clerk's native mobile SDKs now include prebuilt Organization management UI for iOS and Android. These views cover account switching and Organization settings.

The OrganizationSwitcherSheet showing Organization account switching options.
The OrganizationProfileView showing profile details, members, verified domains, and Organization actions.

What's new

  • OrganizationSwitcher renders the active Organization or personal account, then opens native controls for switching accounts, accepting invitations and suggestions, creating Organizations, and managing the active Organization.
  • OrganizationListView provides a standalone account picker for selecting a personal account or Organization, including memberships, invitations, suggestions, and Organization creation when available.
  • OrganizationProfileView renders permission-gated Organization management for profile details, members, invitations, requests, verified domains, leaving Organizations, and deleting Organizations.
Contributors
Sam Wolfand
Sean Perez

Share this article